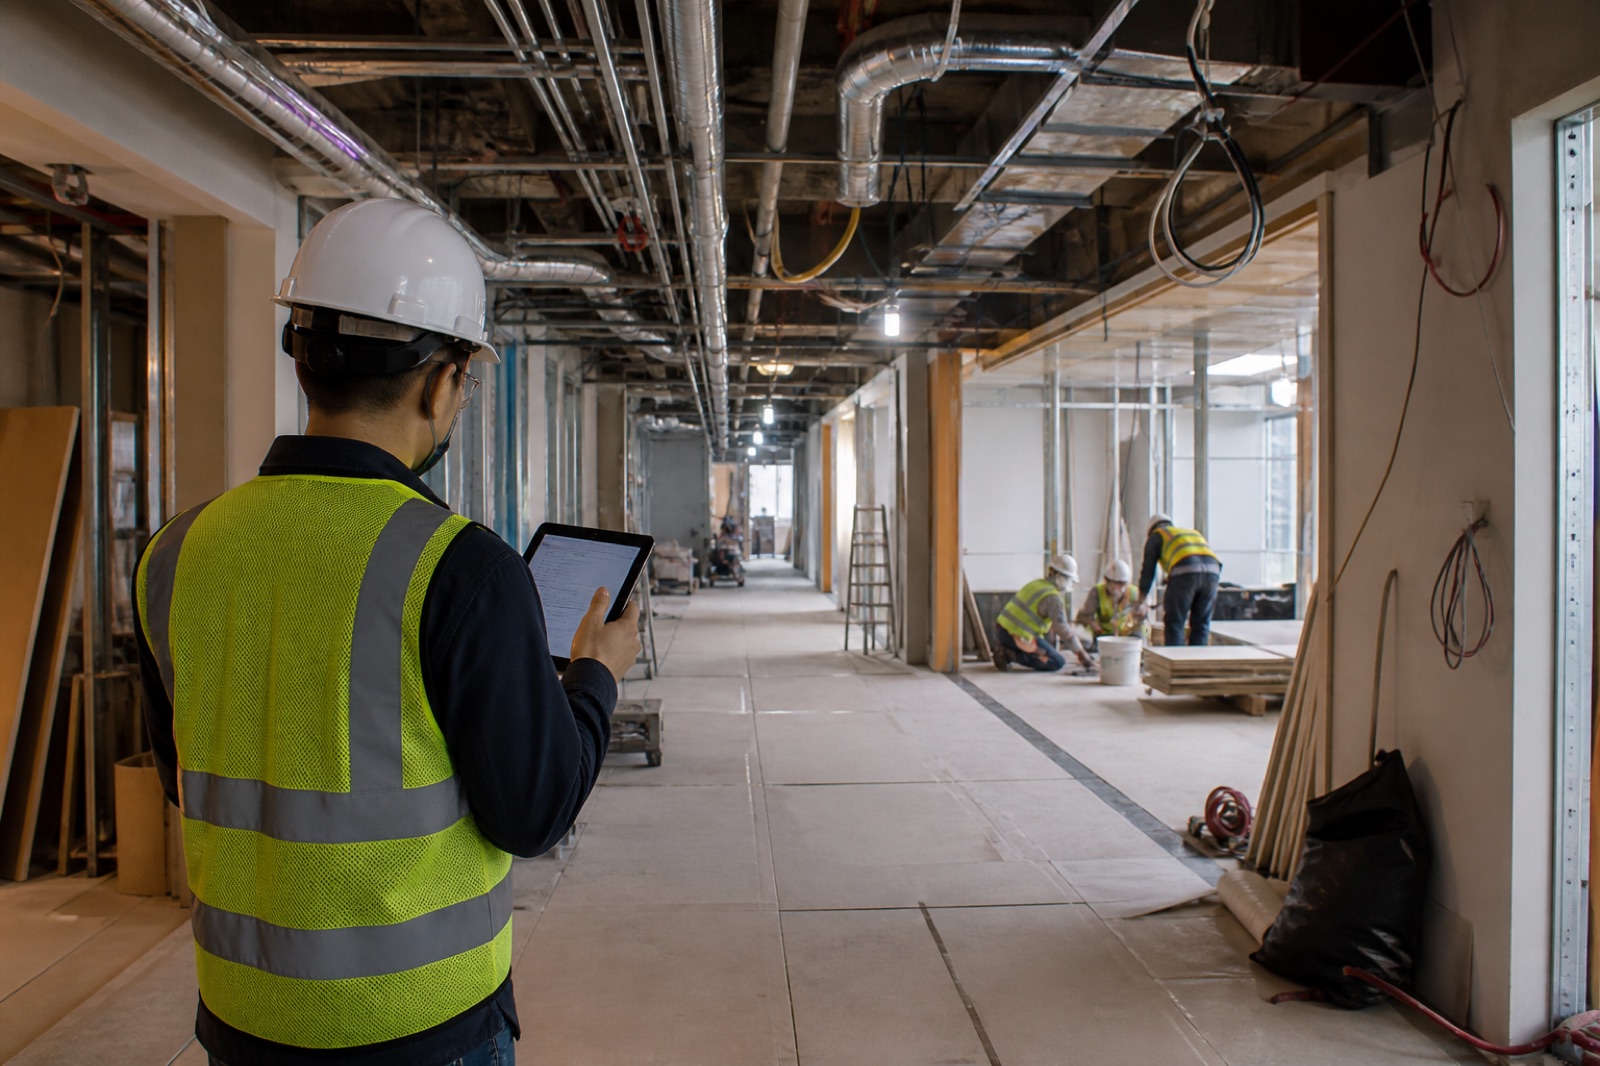
WHY THIS RESOURCE MATTERS
Turn observations into accountable decisions
A useful inspection report does more than prove that somebody visited the site. It connects each observation to an exact place, explains why the condition matters, identifies the person who owns the next action, and leaves enough evidence for another reader to understand the decision without returning to the property.
The best structure separates facts from recommendations. Record what was visible, the limits of the inspection, and the evidence available before proposing follow-up. That distinction makes the report easier for clients, contractors, and reviewers to trust, especially when several people will update the same finding over time.
CHECKLIST
What to include
- 01Project and client details
- 02Inspection date and inspector
- 03Area or location
- 04Finding title and notes
- 05Priority and status
- 06Responsible person
- 07Due date
- 08Photo evidence
- 09Corrective action
- 10Client or inspector sign-off
WHAT TO LOOK FOR
Report weaknesses that create follow-up problems
Vague location
A note such as ‘wall damaged’ is hard to act on without a floor, room, elevation, grid, or asset reference.
Evidence without context
A close-up photo may show the defect but not where it sits in relation to the surrounding area.
Unclear consequence
Readers need to know whether the observation affects safety, weather resistance, operation, appearance, or future maintenance.
No action owner
A finding without an assigned person and target date often remains open even when everyone agrees it matters.
Closure without proof
A status change should be supported by a completion note, after-photo, test result, or named approval.
FIELD WORKFLOW
How to use this template
- 1
Define the inspection scope, exclusions, property reference, participants, date, weather, and any access restrictions before recording findings.
- 2
Create one finding per issue and pair a wide context image with a close detail image whenever the location is not immediately obvious.
- 3
Separate the observed condition from the recommended response, then assign a priority, responsible person, and realistic target date.
- 4
Review every open item for missing evidence and export a versioned report so later updates can be compared with the original record.
PRIORITY GUIDE
Choose a priority from the consequence
Escalate now
Use when people, property, or active operations may be exposed and the area needs immediate control or specialist advice.
Plan a correction
Use for a confirmed defect that is stable enough to schedule but still needs an owner, scope, and completion date.
Monitor or record
Use for low-consequence observations that establish a baseline, support maintenance planning, or need comparison at the next visit.
FIELD EXAMPLE
Example: a stain becomes a traceable action
Instead of writing ‘leak near corridor,’ record ‘Level 2 north corridor, ceiling tile N2-14: brown staining approximately beneath the roof upstand.’ Add one corridor photo, one close image, and a note that the surface was dry during the visit. Assign a roofing review rather than declaring the source, set a target date, and request an after-photo plus confirmation that the area was checked after rainfall.
BEFORE YOU START
Adapt it to the job
Names, inspection frequency, acceptance criteria, retention rules, and sign-off responsibilities vary by project and jurisdiction. Remove irrelevant items and add the exact standards, drawings, specifications, and responsible people that apply to your work.